上一篇文章中借助phpstudy搭建了php环境,并成功新建了一个网站。这篇文章简单介绍一下,如何借助vscode搭建php开发环境。
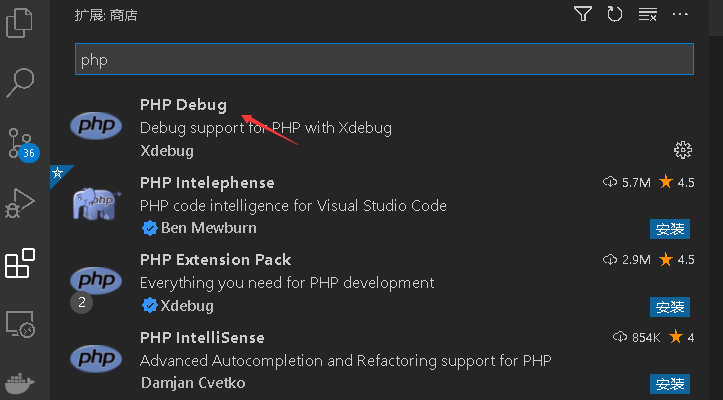
我们打开vscode,下载一个php Debug插件,这个插件主要是为了我们以后方便调试用。
然后我们打开“文件”—>”首选项”——>”扩展”
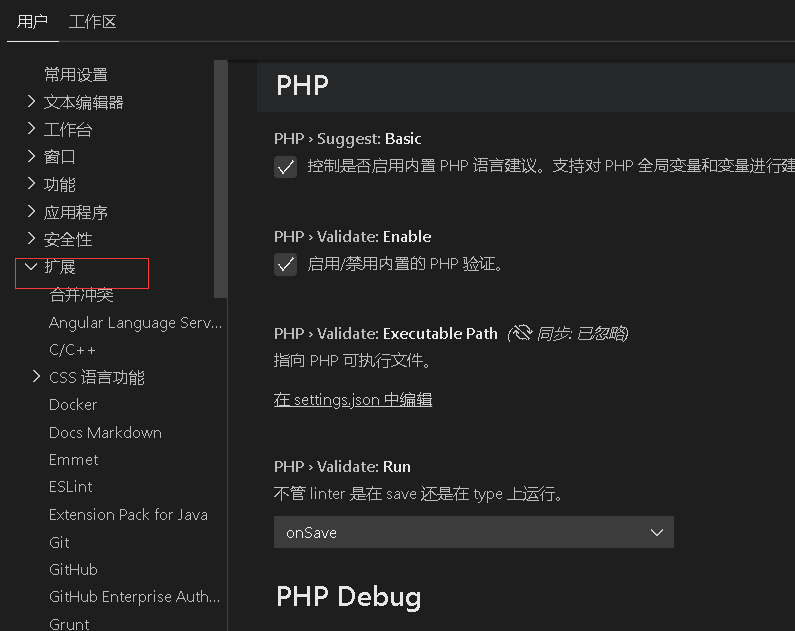
我们往下拉,找到php,然后打开setting。
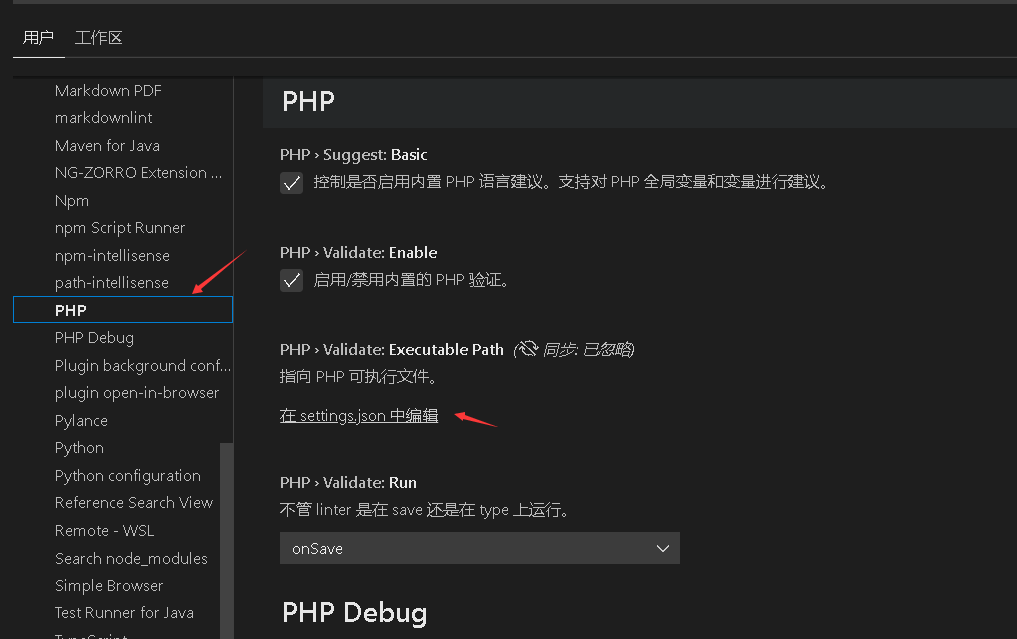
加入类似下面的设置,注意,不要复制我的,填写你自己php.exe的路径。
    "php.debug.executablePath": "D:/Software/phpstudy/main/phpstudy_pro/Extensions/php/php7.3.4nts/php.exe",
    "php.validate.executablePath": "D:/Software/phpstudy/main/phpstudy_pro/Extensions/php/php7.3.4nts/php.exe",
然后,我们用VScode 打开phpstudy创建的项目目录,双击就能打开目录路径,然后用vscode打开这个路径。
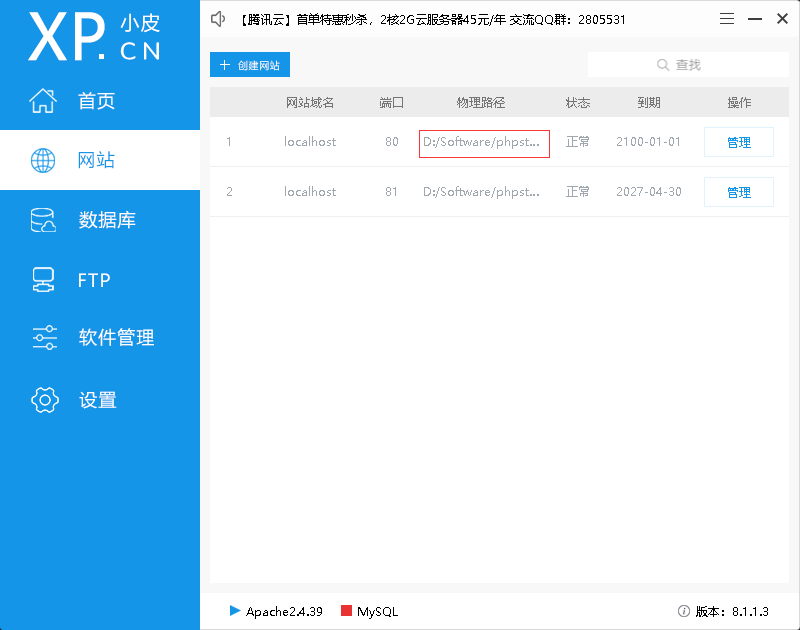
注意:不要打开一个文件,而是打开一个目录。
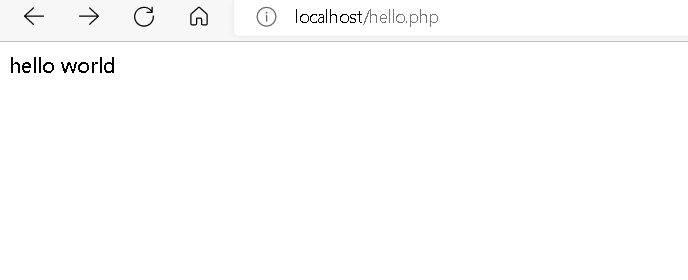
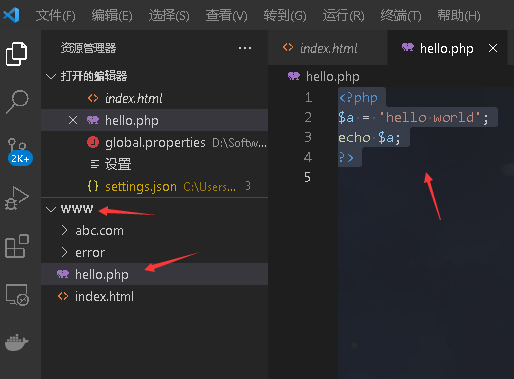
我们在这个目录里新建一个php文件,里面内容如下:
<?php
$a = 'hello world';
echo $a;
?>
然后在浏览器里输入:localhost/hello.php
就可以看到下面的内容了。