本文主要实现基于注解方式的声明式事务,所用工具:
IDEA:2020.2
maven:3.6.3
本文代码下载地址(访问密码: 5321):https://url47.ctfile.com/f/64055047-1501805098-e63549?p=5321
一、创建数据库
打开navicat,执行下面这个sql,创建一个数据库和一个数据表
CREATE DATABASE spring;
USE `spring`;
DROP TABLE IF EXISTS `account`;
CREATE TABLE `account` (
  `id` int(11) NOT NULL AUTO_INCREMENT,
  `username` varchar(50) DEFAULT NULL,
  `balance` double DEFAULT NULL,
  PRIMARY KEY (`id`)
) ENGINE=InnoDB AUTO_INCREMENT=5 DEFAULT CHARSET=utf8;
insert into `account`(`id`,`username`,`balance`) values
 (1,'zhangsan',100),(3,'lisi',500),(4,'wangwu',300);
执行以后的结果如下:

二、项目搭建
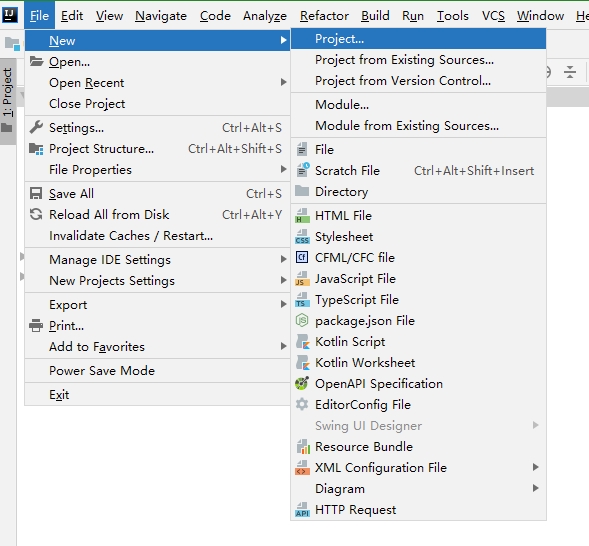
打开IDEA,点击“File—>New—>Project”
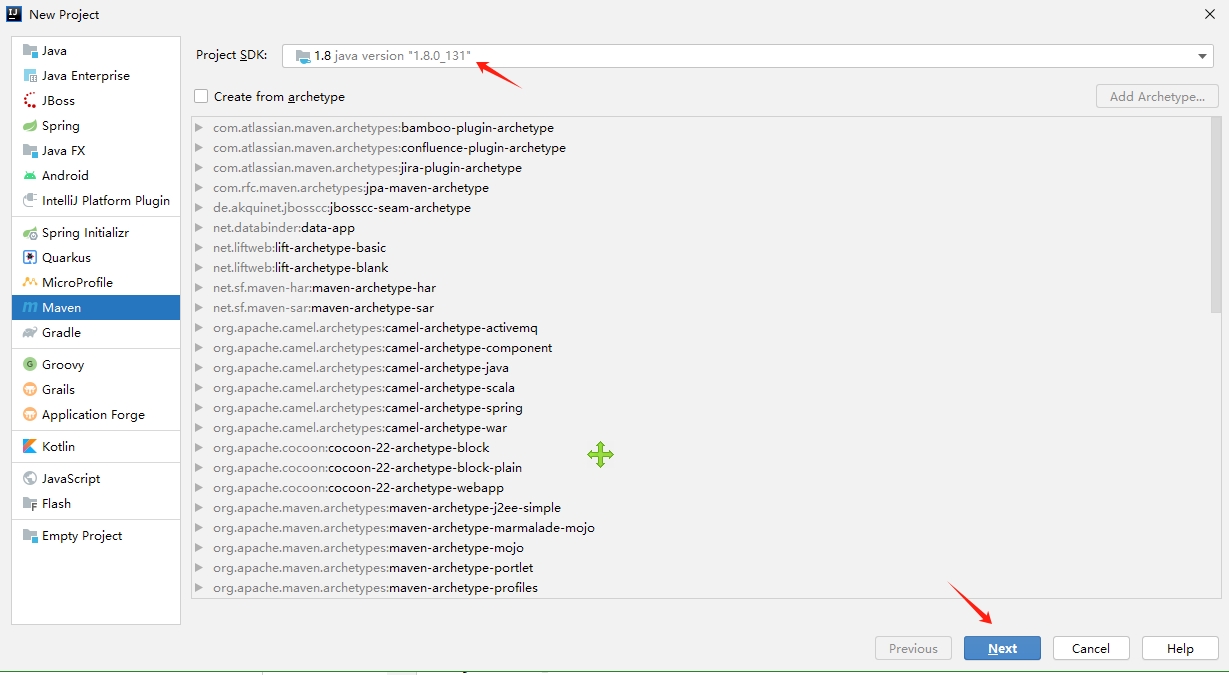
我们 选择“Maven”项目,然后点击“Next”
改一下项目名称,然后点击“Finish”

创建完项目默认如下:

打开POM文件,添加相关依赖(注意,要先配置好maven,不然下载不了依赖)
<?xml version="1.0" encoding="UTF-8"?>
<project xmlns="http://maven.apache.org/POM/4.0.0"
         xmlns:xsi="http://www.w3.org/2001/XMLSchema-instance"
         xsi:schemaLocation="http://maven.apache.org/POM/4.0.0 http://maven.apache.org/xsd/maven-4.0.0.xsd">
    <modelVersion>4.0.0</modelVersion>

    <groupId>org.example</groupId>
    <artifactId>demo9</artifactId>
    <version>1.0-SNAPSHOT</version>
    <dependencies>
        <dependency>
            <groupId>org.springframework</groupId>
            <artifactId>spring-core</artifactId>
            <version>5.2.8.RELEASE</version>
        </dependency>
        <dependency>
            <groupId>org.springframework</groupId>
            <artifactId>spring-beans</artifactId>
            <version>5.2.8.RELEASE</version>
        </dependency>
        <dependency>
            <groupId>org.springframework</groupId>
            <artifactId>spring-aop</artifactId>
            <version>5.2.8.RELEASE</version>
        </dependency>
        <dependency>
            <groupId>org.springframework</groupId>
            <artifactId>spring-context</artifactId>
            <version>5.2.8.RELEASE</version>
        </dependency>
        <dependency>
            <groupId>org.springframework</groupId>
            <artifactId>spring-expression</artifactId>
            <version>5.2.8.RELEASE</version>
        </dependency>
        <dependency>
            <groupId>commons-logging</groupId>
            <artifactId>commons-logging</artifactId>
            <version>1.2</version>
        </dependency>
        <!-- jdbc包 -->
        <dependency>
            <groupId>org.springframework</groupId>
            <artifactId>spring-jdbc</artifactId>
            <version>5.2.10.RELEASE</version>
        </dependency>
        <!-- spring-tx包 -->
        <dependency>
            <groupId>org.springframework</groupId>
            <artifactId>spring-tx</artifactId>
            <version>5.2.10.RELEASE</version>
        </dependency>
        <!-- MySQL数据库驱动 -->
        <dependency>
            <groupId>mysql</groupId>
            <artifactId>mysql-connector-java</artifactId>
            <version>8.0.11</version>
            <scope>runtime</scope>
        </dependency>
        <!-- aspectjweaver依赖 -->
        <dependency>
            <groupId>org.aspectj</groupId>
            <artifactId>aspectjweaver</artifactId>
            <version>1.9.6</version>
            <scope>runtime</scope>
        </dependency>
        <!-- aopalliance依赖包 -->
        <dependency>
            <groupId>aopalliance</groupId>
            <artifactId>aopalliance</artifactId>
            <version>1.0</version>
        </dependency>
    </dependencies>

</project>
如果maven依赖加载没问题,我们就开始创建项目结构。
右击java文件夹,选择New—>Package,

然后分别创建Dao、Entity、Impl这三个文件夹
com.demo9.Entity
com.demo9.Dao
com.demo9.Impl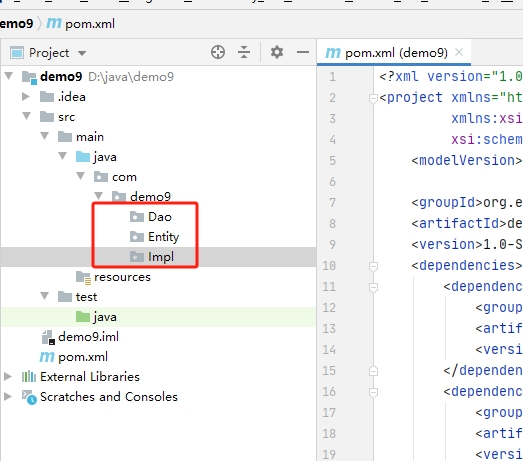
三、编写项目代码
1.编写实体类
右击Entity文件夹,选择New—>Java Class

实体类名称为Account

Account类代码参考如下:
package com.demo9.Entity;

public class Account {
    private Integer id;       	// 账户id
    private String username; 	// 用户名
    private Double balance;  	// 账户余额
    public Integer getId() {
        return id;
    }
    public void setId(Integer id) {
        this.id = id;
    }
    public String getUsername() {
        return username;
    }
    public void setUsername(String username) {
        this.username = username;
    }
    public Double getBalance() {
        return balance;
    }
    public void setBalance(Double balance) {
        this.balance = balance;
    }
    public String toString() {
        return "Account [id=" + id + ", "
                + "username=" + username +
                ", balance=" + balance + "]";
    }
}
2.编写dao层
右击Dao文件夹

名称为AccountDao,注意类型是Interface
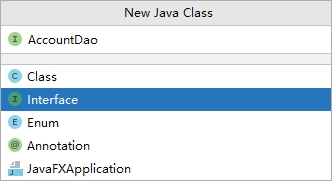
那么代码参考如下:
package com.demo9.Dao;


import com.demo9.Entity.Account;
import java.util.List;

public interface AccountDao {
    // 添加
    public int addAccount(Account account);
    // 更新
    public int updateAccount(Account account);
    // 删除
    public int deleteAccount(int id);
    // 通过id查询
    public Account findAccountById(int id);
    // 查询所有账户
    public List<Account> findAllAccount();
    // 转账
    public void transfer(String outUser,String inUser,Double money);
}
3.创建Impl层
右击Impl文件夹,选择New—>Java Class
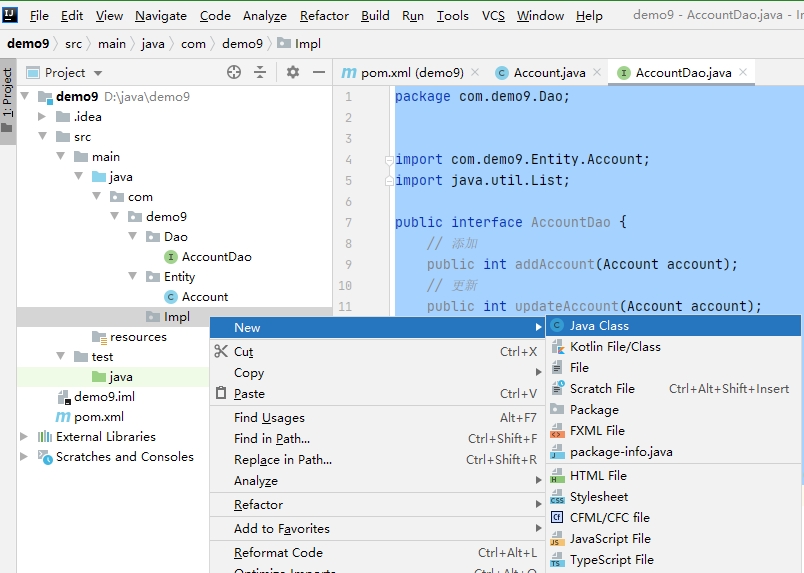
在输入名称处选择 AccountDaoImpl

代码参考如下:
package com.demo9.Impl;

import com.demo9.Dao.AccountDao;
import com.demo9.Entity.Account;
import org.springframework.jdbc.core.BeanPropertyRowMapper;
import org.springframework.jdbc.core.JdbcTemplate;
import org.springframework.jdbc.core.RowMapper;
import org.springframework.transaction.annotation.Isolation;
import org.springframework.transaction.annotation.Propagation;
import org.springframework.transaction.annotation.Transactional;

import java.util.List;

public class AccountDaoImpl implements AccountDao {
    // 定义JdbcTemplate属性及其setter方法
    private JdbcTemplate jdbcTemplate;
    public void setJdbcTemplate(JdbcTemplate jdbcTemplate) {
        this.jdbcTemplate = jdbcTemplate;
    }
    // 添加账户
    public int addAccount(Account account) {
        // 定义SQL
        String sql = "insert into account(username,balance) value(?,?)";
        // 定义数组来存放SQL语句中的参数
        Object[] obj = new Object[] {
                account.getUsername(),
                account.getBalance()
        };
        // 执行添加操作,返回的是受SQL语句影响的记录条数
        int num = this.jdbcTemplate.update(sql, obj);
        return num;
    }
    // 更新账户
    public int updateAccount(Account account) {
        // 定义SQL
        String sql = "update account set username=?,balance=? where id = ?";
        // 定义数组来存放SQL语句中的参数
        Object[] params = new Object[] {
                account.getUsername(),
                account.getBalance(),
                account.getId()
        };
        // 执行更新操作,返回的是受SQL语句影响的记录条数
        int num = this.jdbcTemplate.update(sql, params);
        return num;
    }
    // 删除账户
    public int deleteAccount(int id) {
        // 定义SQL
        String sql = "delete  from account where id = ? ";
        // 执行删除操作,返回的是受SQL语句影响的记录条数
        int num = this.jdbcTemplate.update(sql, id);
        return num;
    }
    // 通过id查询单个账户信息
    public Account findAccountById(int id) {
        //定义SQL语句
        String sql = "select * from account where id = ?";
        // 创建一个新的BeanPropertyRowMapper对象
        RowMapper<Account> rowMapper =
                new BeanPropertyRowMapper<Account>(Account.class);
        // 将id绑定到SQL语句中,并通过RowMapper返回一个Object类型的单行记录
        return this.jdbcTemplate.queryForObject(sql, rowMapper, id);
    }
    //查询所有账户信息
    public List<Account> findAllAccount() {
        // 定义SQL语句
        String sql = "select * from account";
        // 创建一个新的BeanPropertyRowMapper对象
        RowMapper<Account> rowMapper =
                new BeanPropertyRowMapper<Account>(Account.class);
        // 执行静态的SQL查询,并通过RowMapper返回结果
        return this.jdbcTemplate.query(sql, rowMapper);
    }
    /**
     *  转账
     *  inUser:收款人
     *  outUser:汇款人
     *  money:收款金额
     */
    @Transactional(propagation = Propagation.REQUIRED,
            isolation = Isolation.DEFAULT, readOnly = false)
    public void transfer(String outUser, String inUser, Double money) {
        // 收款时,收款用户的余额=现有余额+所汇金额
        this.jdbcTemplate.update("update account set balance = balance +? "
                + "where username = ?",money, inUser);
        // 模拟系统运行时的突发性问题
        int i = 1/0;
        // 汇款时,汇款用户的余额=现有余额-所汇金额
        this.jdbcTemplate.update("update account set balance = balance-? "
                + "where username = ?",money, outUser);
    }

}
4.编写配置文件
右击resources文件夹,选择New—>File,文件名称写applicationContext-annotation.xml
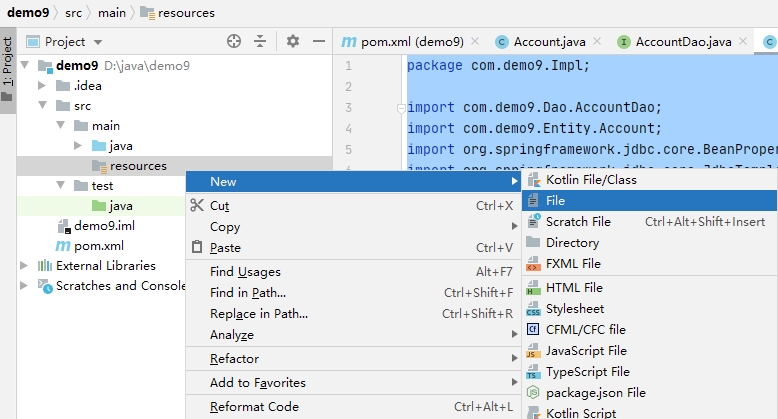
创建好的文件代码参考如下:
注意把数据库密码修改成自己的。
<?xml version="1.0" encoding="UTF-8"?>
<beans xmlns="http://www.springframework.org/schema/beans"
xmlns:xsi="http://www.w3.org/2001/XMLSchema-instance"
xmlns:aop="http://www.springframework.org/schema/aop"
xmlns:tx="http://www.springframework.org/schema/tx"
xmlns:context="http://www.springframework.org/schema/context"
xsi:schemaLocation="http://www.springframework.org/schema/beans
http://www.springframework.org/schema/beans/spring-beans.xsd
http://www.springframework.org/schema/tx
http://www.springframework.org/schema/tx/spring-tx.xsd
http://www.springframework.org/schema/context
http://www.springframework.org/schema/context/spring-context.xsd
http://www.springframework.org/schema/aop
http://www.springframework.org/schema/aop/spring-aop.xsd">
<!-- 1.配置数据源 -->
<bean id="dataSource"
class="org.springframework.jdbc.datasource.DriverManagerDataSource">
<!--数据库驱动 -->
<property name="driverClassName" value="com.mysql.jdbc.Driver" />
<!--连接数据库的url -->
<property name="url" value="jdbc:mysql://localhost/spring?useUnicode=true&characterEncoding=utf-8&serverTimezone=Asia/Shanghai" />
<!--连接数据库的用户名 -->
<property name="username" value="root" />
<!--连接数据库的密码 -->
<property name="password" value="123456" />
</bean>
<!-- 2.配置JDBC模板 -->
<bean id="jdbcTemplate"
class="org.springframework.jdbc.core.JdbcTemplate">
<!-- 默认必须使用数据源 -->
<property name="dataSource" ref="dataSource" />
</bean>
<!--3.定义id为accountDao的Bean -->
<bean id="accountDao" class="com.demo9.Impl.AccountDaoImpl">
<!-- 将jdbcTemplate注入到AccountDao实例中 -->
<property name="jdbcTemplate" ref="jdbcTemplate" />
</bean>
<!-- 4.事务管理器,依赖于数据源 -->
<bean id="transactionManager" class=
"org.springframework.jdbc.datasource.DataSourceTransactionManager">
<property name="dataSource" ref="dataSource" />
</bean>
<!-- 5.注册事务管理器驱动 -->
<tx:annotation-driven transaction-manager="transactionManager"/>
</beans>四、编写测试代码
右击java文件夹,选择New—>Java Class

然后名称为:AnnotationTest
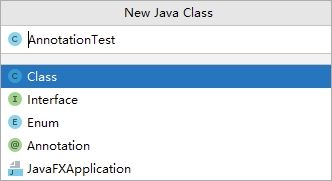
代码参考如下:
import com.demo9.Dao.AccountDao;
import org.springframework.context.ApplicationContext;
import org.springframework.context.support.ClassPathXmlApplicationContext;

public class AnnotationTest {
    public static void main(String[] args) {
        ApplicationContext applicationContext =new
                ClassPathXmlApplicationContext("applicationContext-annotation.xml");
        // 获取AccountDao实例
        AccountDao accountDao =
                (AccountDao)applicationContext.getBean("accountDao");
        // 调用实例中的转账方法
        accountDao.transfer("lisi", "zhangsan", 100.0);
        // 输出提示信息
        System.out.println("转账成功!");
    }
}
五、测试