项目中用计划用若以开发,下载下来研究一下。
官方地址:若以官网
打开官网:

我们点击 Ruoyi-Vue前端分离版

git地址:https://gitee.com/y_project/RuoYi-Vue.git
下载后代码如下:

一、后台部分
我们用IDEA打开代码,加载完项目如下:

我们首先找到sql语句,创建一个名字为ruoyi的数据库,然后执行执行下面的SQL。

配置数据库链接:

在application-druid.yml中修改数据库的配置文件。
配置redis链接,本地下载一个redis客户端,不要设置密码,

在IDEA终端里执行mvn clean install命令,然后DEBUG启动项目。

二、前台部分
我们把终端切换到ruoyi-ui路径

执行npm install (建议把npm源切换到淘宝源)

然后执行 npm run dev

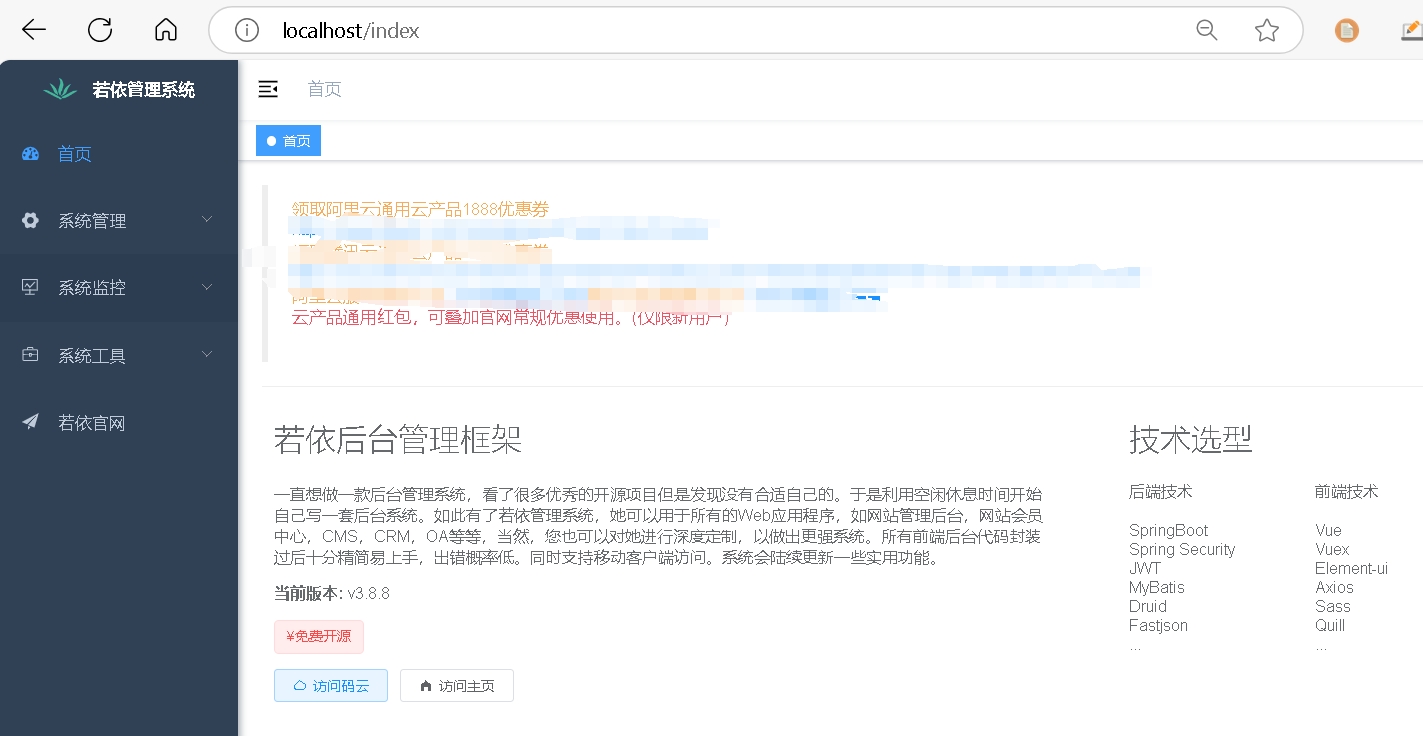
等待完毕后浏览器自动打开网页

点击登录,来到主界面